Simplified Testing of Push Notifications in iOS Simulator with JSON .apns Files
Importance of testing push notifications during app development
It is essential to test push notifications as mobile applications are being designed to ensure their efficiency, enhance user-friendliness, and maintain the app’s integrity. Notifications are one of the most effective ways to keep the users engaged to the application; as such there is no way to withstand improper delivery or even worse the content notification comes with.
Another explanation for incorporating this testing requirement is that it is necessary in order to enable the Apple Push Notification Service (APNs) proper handling of device tokens, app registration and updates, and etc. Another way testing assists is tracing the chances of payload formatting malfunctions which ensures messages will be displayed as per expectation on different types of iOS systems and devices.
Ways of testing push notifications in the iOS Simulator
There are two ways of testing push notifications in the iOS simulator. In this article, we will focus on testing push notifications using an .apns file.
- Dragging and Dropping the APNs File
- Using the Command Line
Dragging and Dropping the APNs File
APNs stands for Apple Push Notification service.
First we need to create a .apns file, which is basically a JSON representation of push notifications payload.
In your Xcode to create a JSON dictionary for notification app’s payload you can use the below steps to create a .apns file.
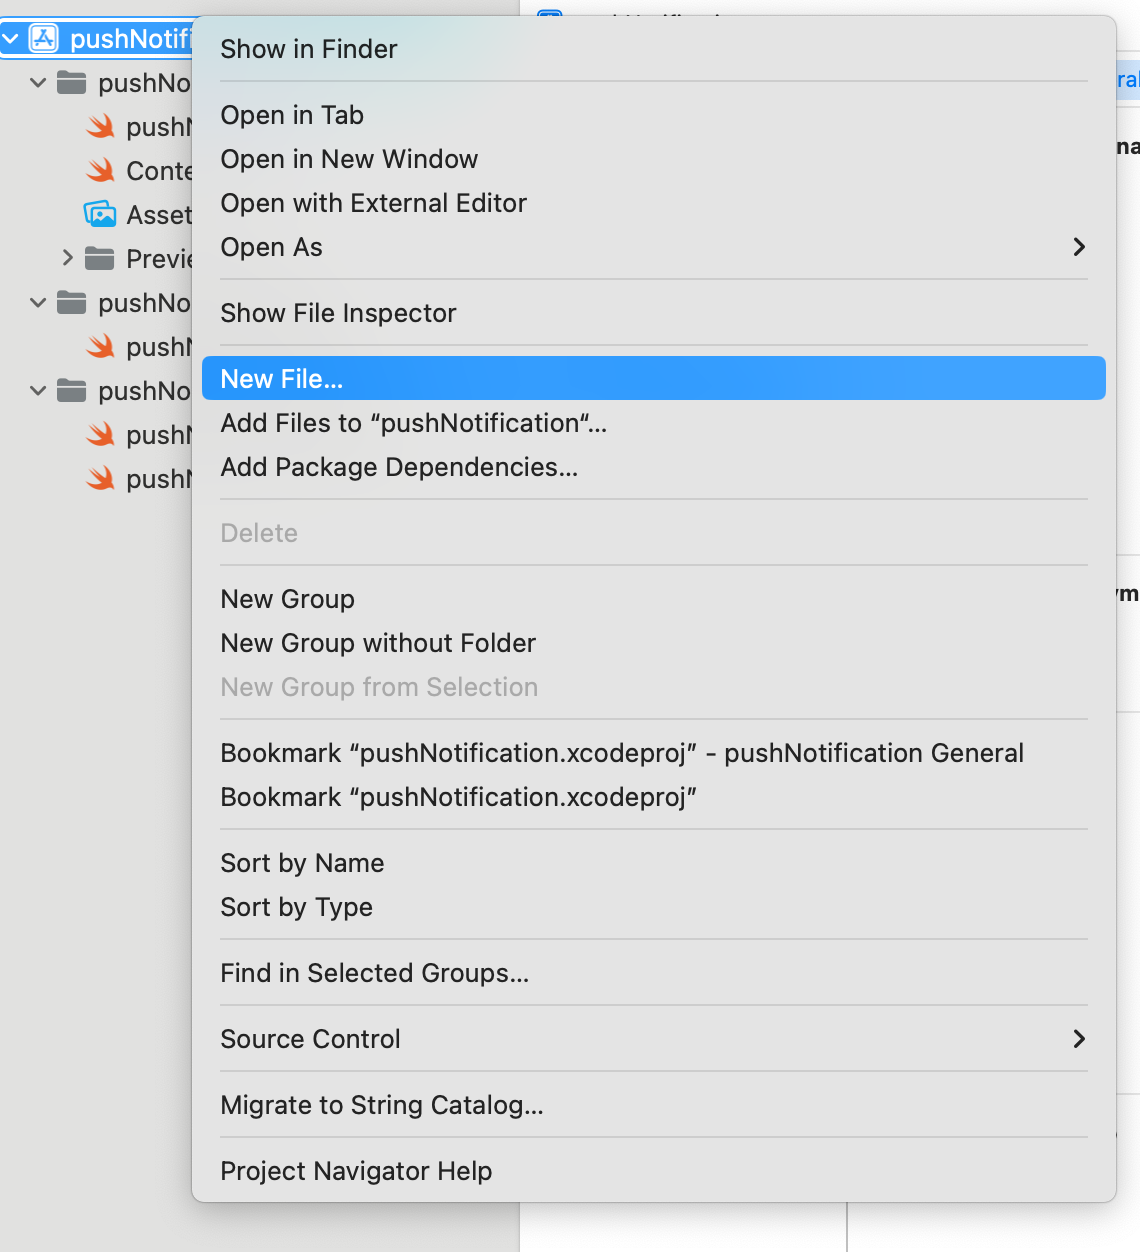
- Press Control on the keyboard and click anywhere in the Xcode Project bundle to and then click on add a “New File”.
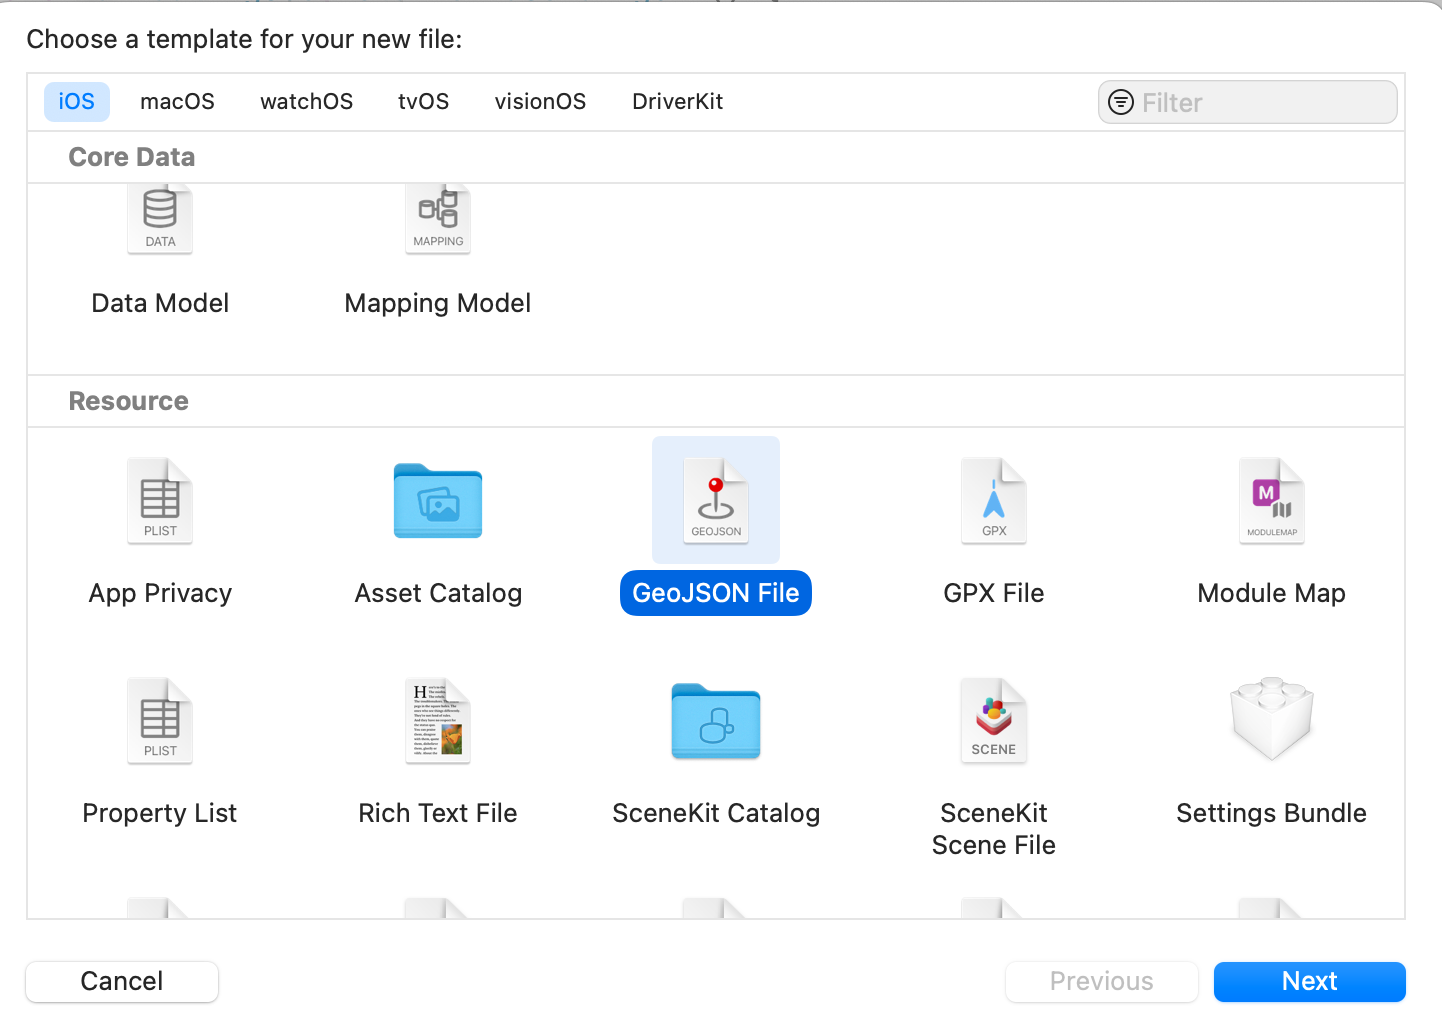
- Select GeoJSON File from the dialog window.
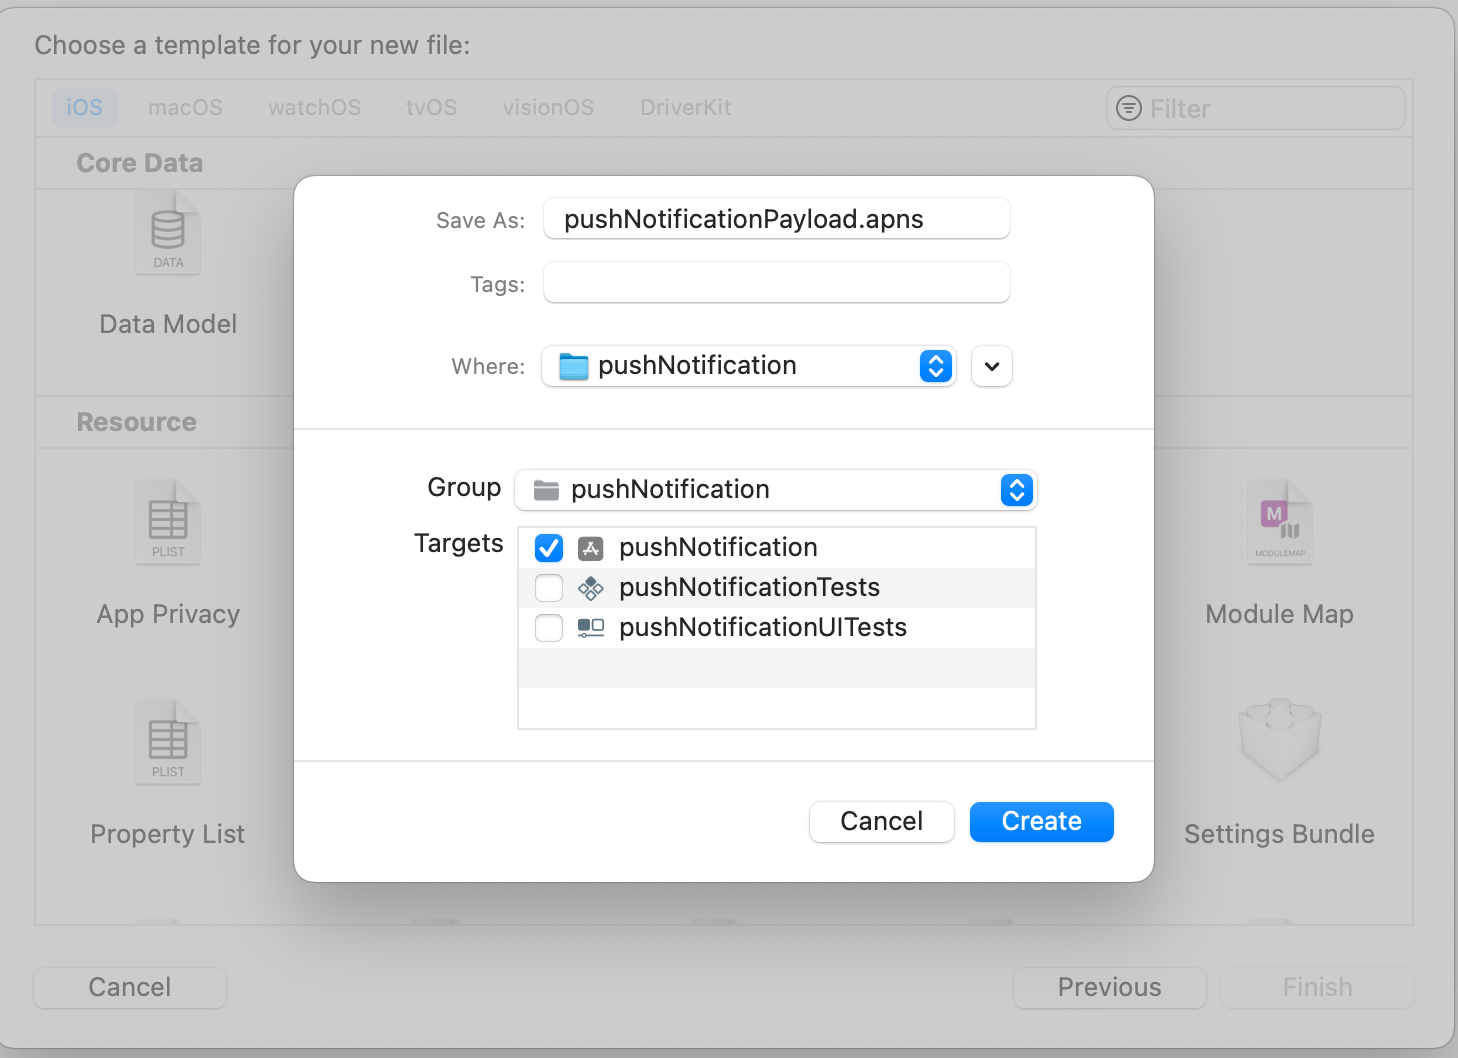
- Name the file as pushNotificationPayload.apns as shown in below image and then follow the next instruction to create it.
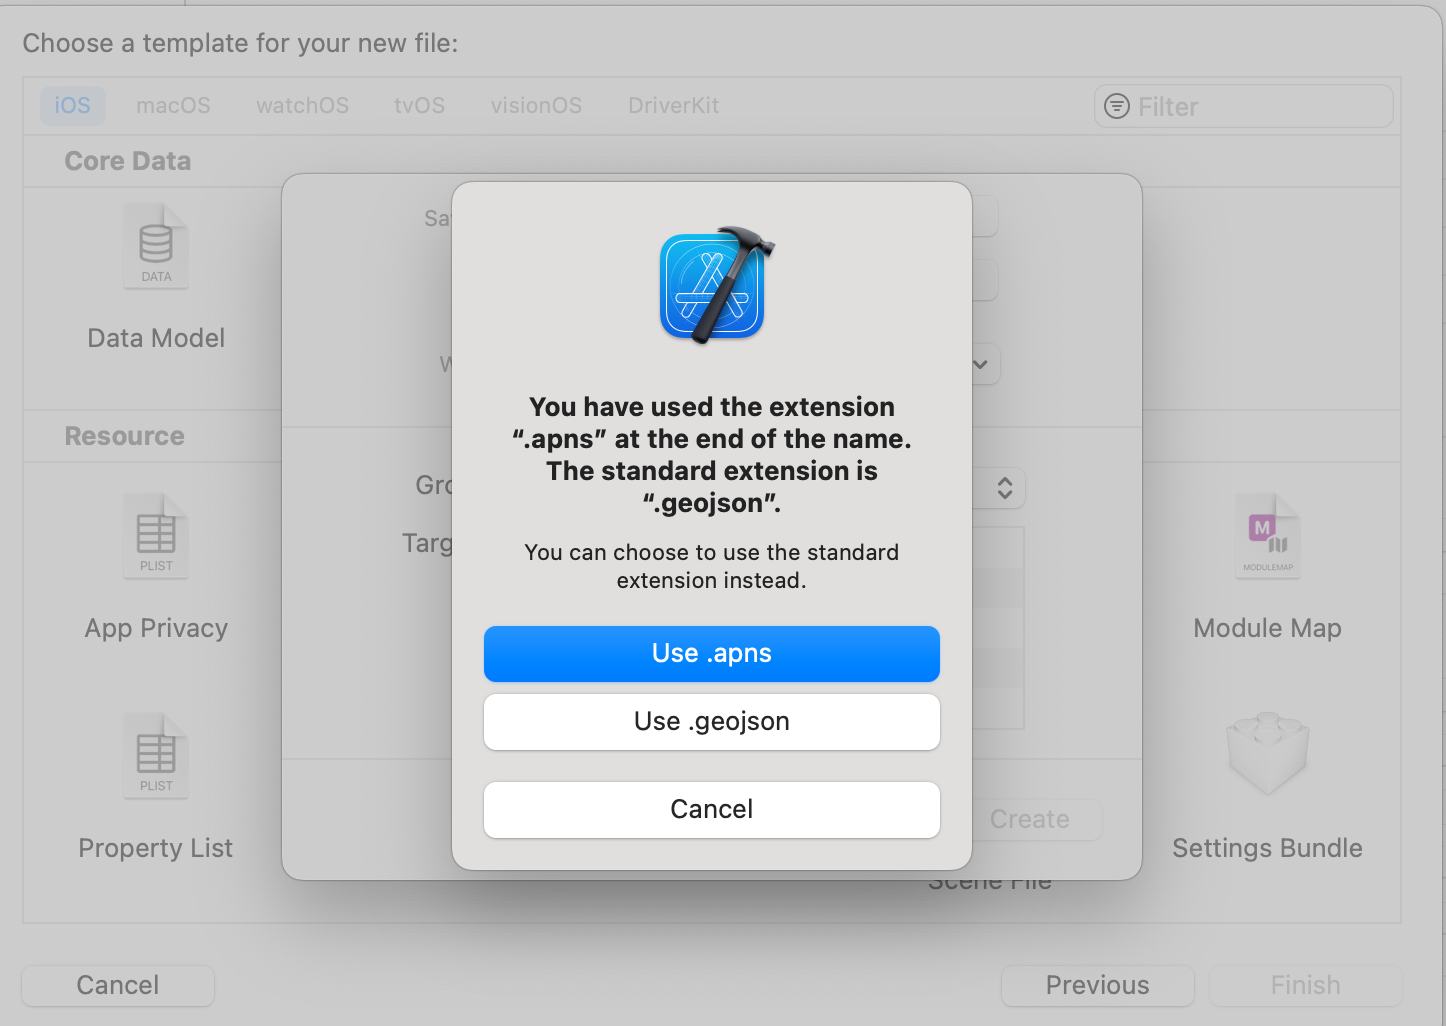
- Xcode will add the extension .geojson to the file. Change the extension to .apns. The pushNotificationPayload file is a certificate for the Apple Push Notification service(APNs).
- Now replace the file’s contents with the code below.
Note: In Simulator Target Bundle add your project bundle name.
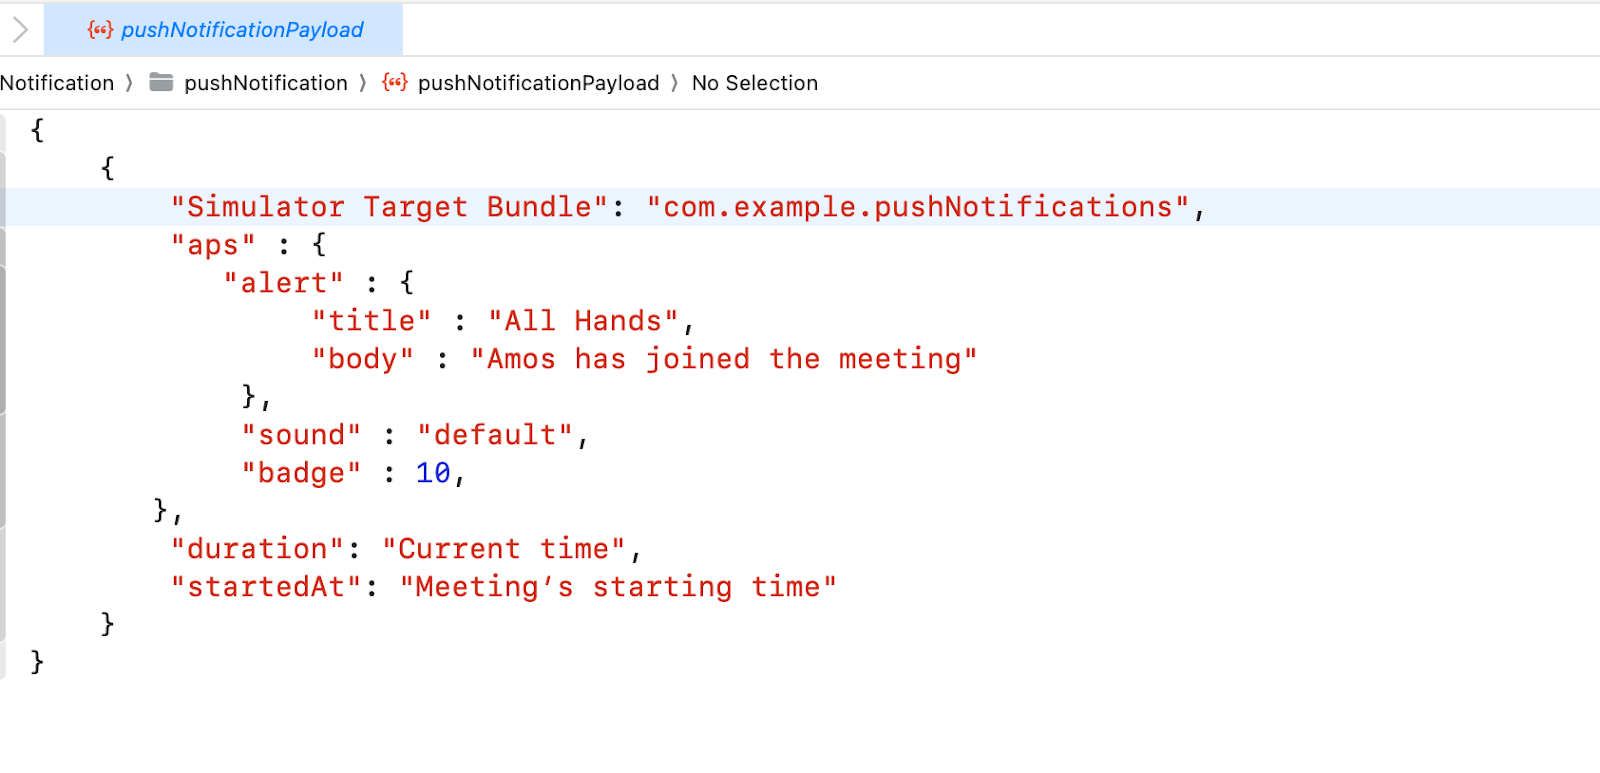
Now do the required setup for receiving the remote notification with the AppDelegate class. Once the setup is done run the app using a simulator once the app is built in, just drag and drop the .apns file to the simulator You can now see the notification displaying with a default sound.


